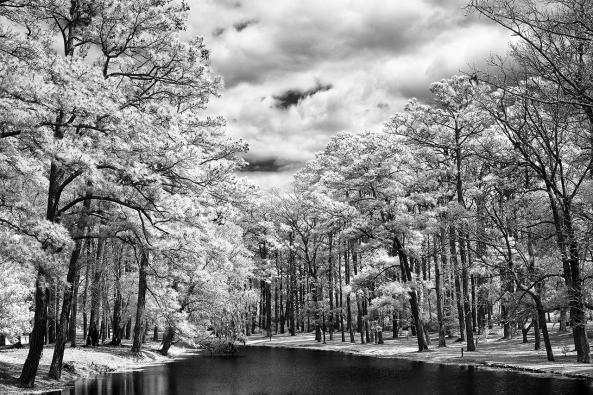
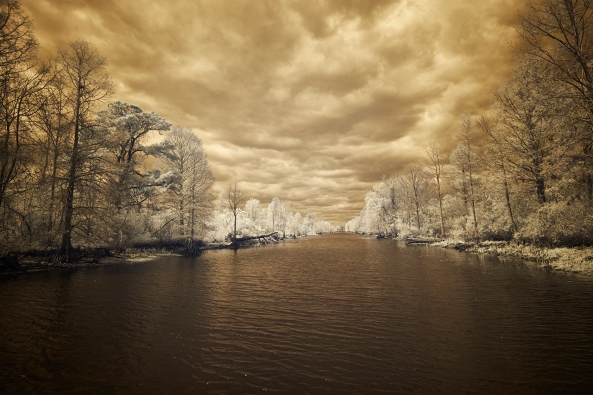
Here it is…

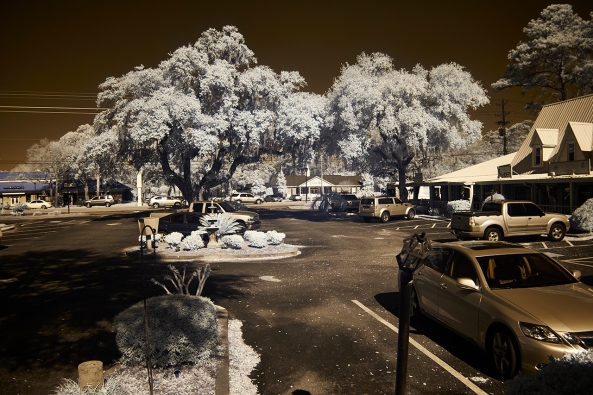
Fuji X Pro 1, Brookgreen Gardens, 720nm B&W processed. Fuji X 35mm lens.
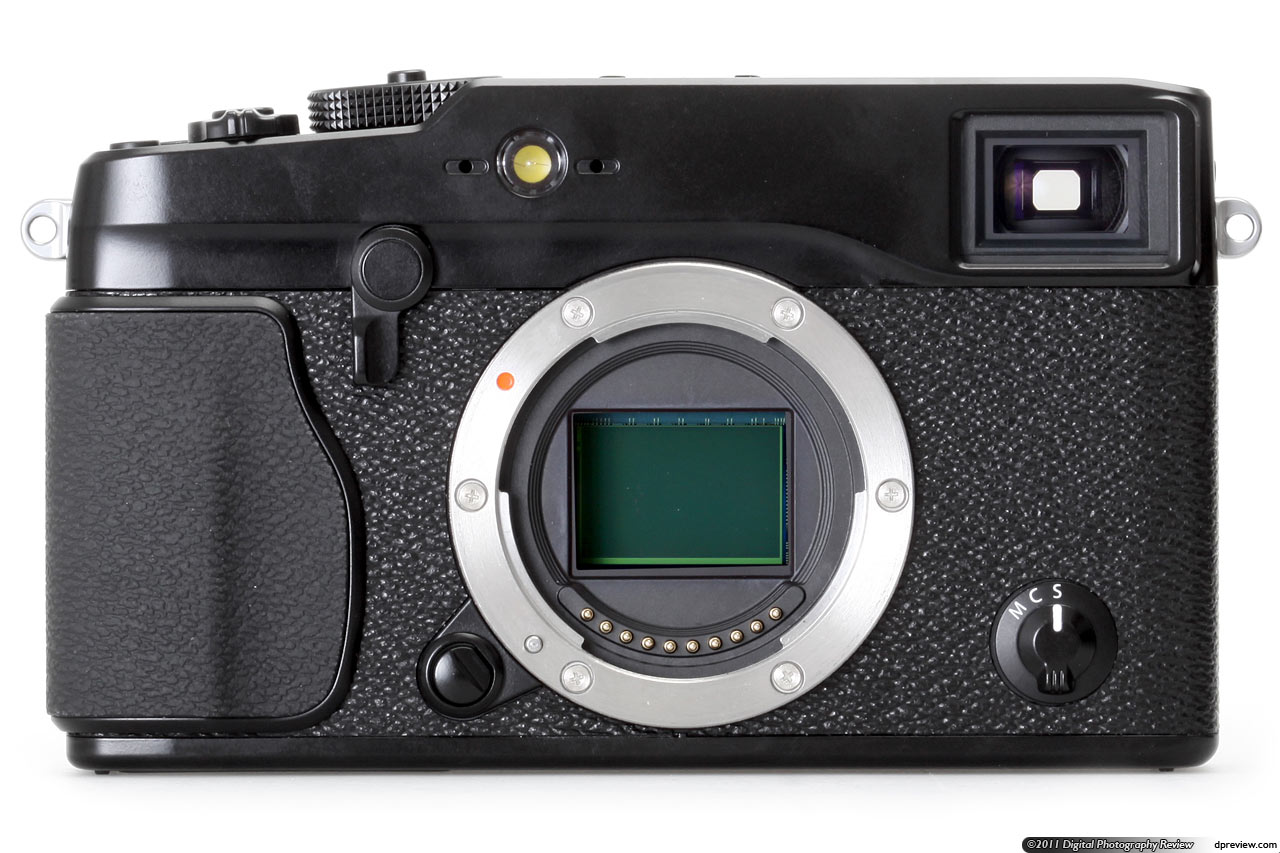 Well, it arrived! After months of consideration after I got my X-E1 I finally decided to send off the X Pro 1 for Infrared conversion. It went to Dan at LDP (maxmax.com) and the cost was $500.00. YIKES! yes I said $500.00! Dan explains that the X Pro 1 is the most difficult conversion that he does! It required him 1.5 days to do the conversion and lots unsoldering/soldering to get to the sensor. Still, better than sitting on the shelf or an attempted sale on Ebay, plus I really like the camera and the hybrid viewfinder is just perfect for IR.
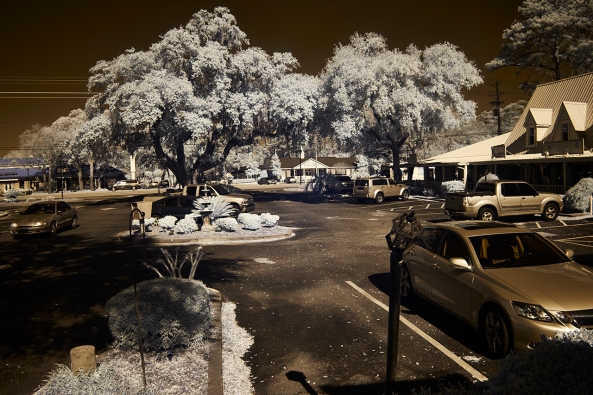
I had to decide between 720nm and 850nm so decided to go for the 720 in order to have a little color ( I really like the bronze tones right out of the camera at 720nm). The total time for shipping – conversion – shipping was 8 days, door to door. Very fast!
Importantly, the Fuji X Pro 1 camera White Balances perfectly. For these tests I white balanced on a green shrub in front of my gallery. The process to do so on the camera is simple and fast!
The scope of THIS post is to talk about the conversion itself and to give you some sample images testing each of my normal Fuji and Voigtlander lens set that I use.
- Voigtlander Heliar 75mm f/1.8 Lens
- Voigtlander Ultra Wide-Heliar 12mm f/5.6
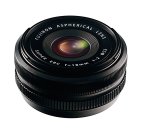
- Fujifilm XF 35mm F1.4 Lens
- Fujifilm XF 18-55mm F2.8-4.0 Lens Zoom Lens
- Fujifilm XF 18mm F2.0 Lens
- Fujifilm XF 60mm F2.4 Macro Lens
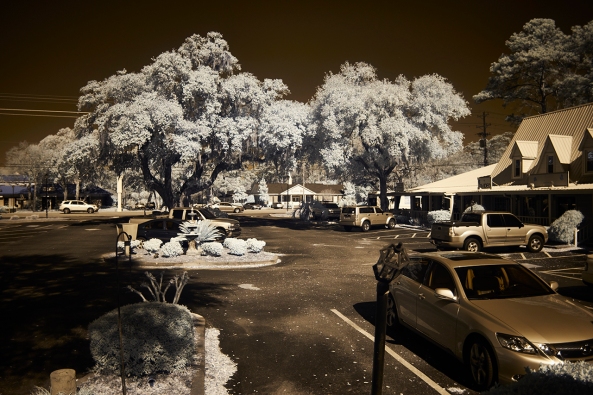
My first image out of the camera was with the Fujifilm XF 35mm F1.4 Lens. It is stunningly sharp with great contrasts and tones without any processing at all! This is simply a perfect IR image right out of the camera.
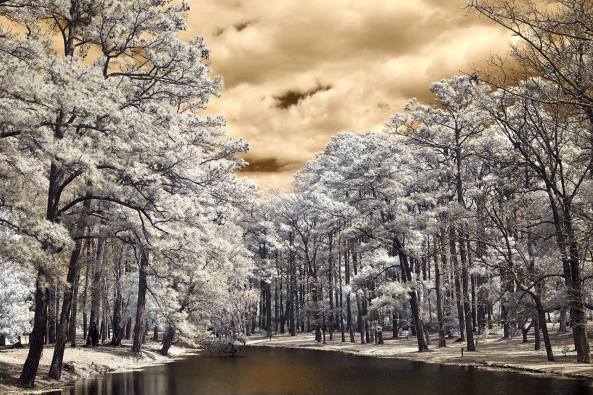
Fuji X Pro 1, Brookgreen Gardens, 720nm RAW un-processed. Fuji X 35mm lens.
OK, the original hot mirror can tell us a lot about the capability of the Fuji body to take IR with no conversion. The strength of the internal filter from the X Pro 1 is quite strong! It is actually 2 filters sandwiched together. They are very much like the B+W 486 IR blocking filter and the LDP CC1 IR blocking filter back to back. The 486 is a pink/gold filter that extends a little further into the visible light spectrum before falling off and allows a little less IR to pass through. The CC1 filter is wider at the UV end. The two filters together will pass light to the sensor from about 300nm to 700nm. You can see this in the image below. This is the same filter arrangement (hot mirror) that we normally see in the Canon DSLR line and on the Panasonic Micro 4/3 camera line.
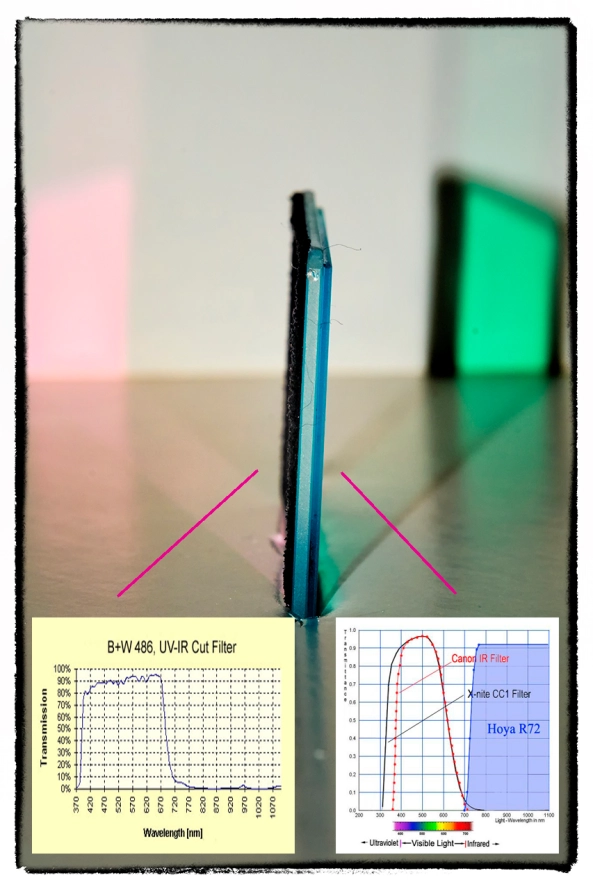
X Pro 1 Hot Mirror showing both Wide bandpass side (gold tint) and the Lower UV side (Aqua)
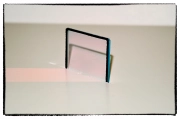
X Pro 1 Hot Mirror showing the Wider bandpass side (gold tint)
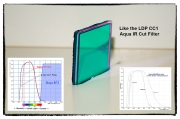
X Pro 1 Hot Mirror showing the Lower UV side (Aqua) similar to the CC1 filter from LDP
If you were to look at the 486 and CC1 filters they are the same general colors and pass band to what we actually see here! So , what does this all mean to you? If you decide (and convince Dan) to have a full spectrum conversion done on your X Pro 1, you can convert it back to a normal color camera by stacking both of these filters (B+W486 and the LDP CC1) on the end of your lens. The full spectrum Infrared conversion is one where the hot mirror (IR blocking filter) is removed from in front of the sensor and replaced with a piece of clear glass. Then, the camera is programmed to the specific UV or IR band with the addition of the appropriate filter on the end of the lens.
Normally, the hot mirror can bee seen as the colored layer of glass under the lens as shown here where you can now see the 720nm filter installed.
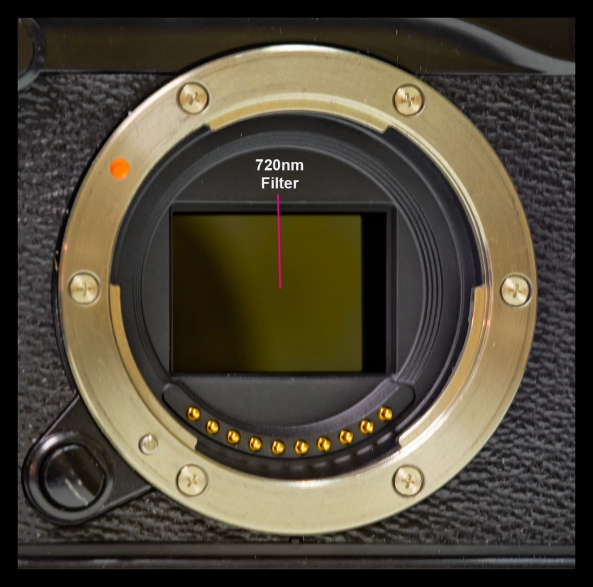
Inside the X Pro 1 showing the 720nm filter.
Lenses that Work/Don’t Work with the X Pro 1 720nm IR conversion…
Lens Hot Spots
As you may know (or guessed), not all lenses work well in the Infrared spectrum. This is due to many things, but most commonly, the coatings on the lens elements and the coatings on the internal lens barrel and how they reflect IR light energy. The common failure then is in the form of HOT SPOTS in the center of the image captured by the camera. These are always dead center in the middle of the image and present as large round white areas. Sometimes, they can be overcome by using a wider aperture, but not always…
Lets talk about the lenses that I tested that work (or in 1 case mostly work)…
Fujifilm XF 35mm F1.4 Len:
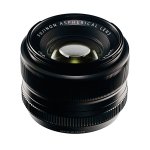
Fuji X 35mm Lens
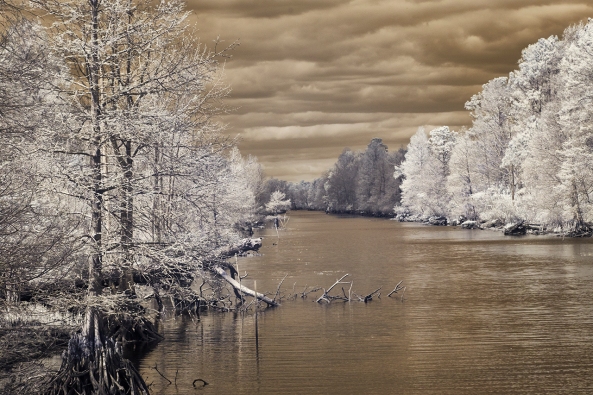
WOW, what can I say? This lens works perfectly in the 720nm spectrum at all apertures! The camera auto focuses perfectly and fast, the images are sharp and there are no hot spots at any aperture! Lets take a look. This first image is raw out of the camera. I have done not post processing for B&W or Faux Color but there is enough color in the 720nm spectrum to have some interesting Faux Color results. These types of images will be covered in another post next week and we will spend a lot of time and effort teaching and going through each step in the recipe used to create them in Photoshop CS6 and the Nik filter set.
Fuji X Pro 1, Brookgreen Gardens, 720nm RAW un-processed. Fuji X 35mm lens f/8
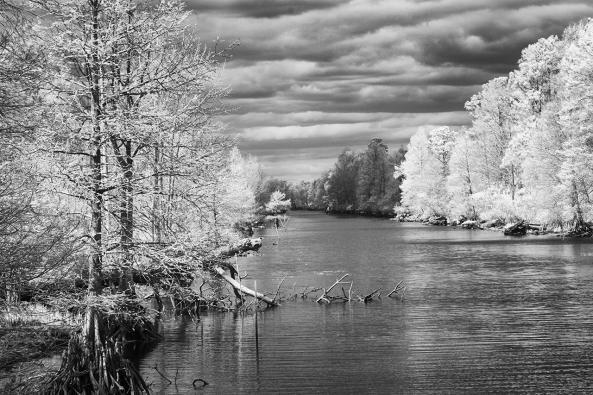
Next, is the same image post processed using CS6 and Nik’s Silver EFX Pro for B&W…
Fuji X Pro 1, Brookgreen Gardens, 720nm B&W processed. Fuji X 35mm lens f/8
Voigtlander Heliar 75mm f/1.8 Lens:
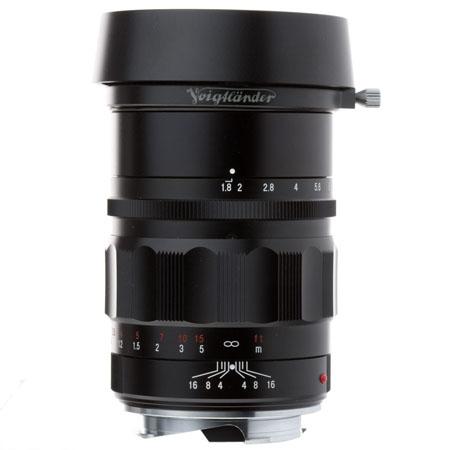 This lens from Voigtlander is one of the sharpest, easy to use lenses that I own. The fit and finish on this lens is something to behold. The lens has an included clamp on lens hood that works very well. The focusing is so smooth that it is scary… It is a PERFECT match for the Fuji X system (X Pro 1 and the X-E1) and works just as well here in Infrared! I was very happy to discover this in my tests at 720nm! There are no hot spots at any aperture. It takes Take a look:
Voigtlander Heliar 75mm f/1.8 Lens at f/11. Raw (notice the nice bronze coloring)

Voigtlander Heliar 75mm f/1.8 Lens, f/8 Faux Color Post Processing
Voigtlander Heliar 75mm f/1.8 Lens, f/8 B&W Post Processing
Fujifilm XF 18mm F2.0 Lens:
Fuji X 18mm lens.
This lens works well as long as you do not go beyond f/8. Past that it generates very discinct hot spot in the center of the image. While this can be overcome in post processing with Nik’s Viveza, it is still slightly disappointing… Still, when used at f/8 or wider the lens generates pleasing sharp images that make it worthwhile to carry in your camera bag! Here are the RAW test samples for you to consider.
Fujifilm XF 18mm F2.0 Lens at f/2
Fujifilm XF 18mm F2.0 Lens at f/4
Fujifilm XF 18mm F2.0 Lens at f/5.6
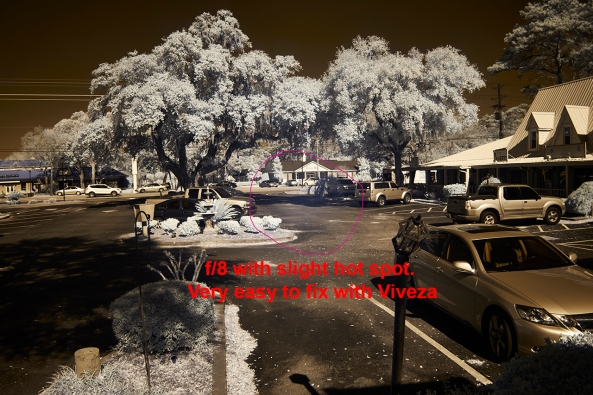
Fujifilm XF 18mm F2.0 Lens at f/8
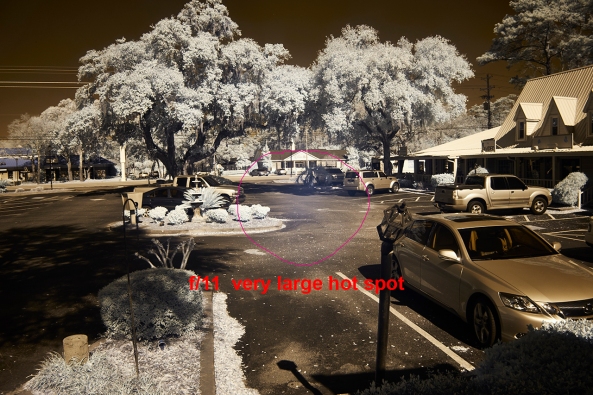
Fujifilm XF 18mm F2.0 Lens at f/11
Voigtlander Ultra Wide-Heliar 12mm f/5.6
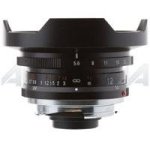
Voitlander 12mm
Another great lens from Voigtlander. This one has a built in lens hood and while it will take screw in filters they need to be wide angle versions. It also has that super smooth focusing feel but since it is so ultra wide at 12mm you can focus it pretty much at infinity and it will always be in focus. I love this lens on the X Pro 1 and X-E1. For 720nm Infrared, it works great until you hit f/22 then it gives a faint hot spot. This is just fine with me as I rarely go beyond f/11 or f/16.
Take a look at the samples:
Voigtlander Ultra Wide-Heliar 12mm f/5.6 at f/8 RAW
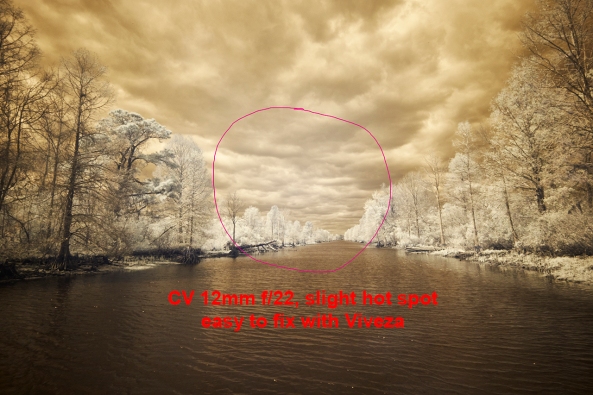
Voigtlander Ultra Wide-Heliar 12mm f/5.6 at f/22 RAW with hot spot
Fujifilm XF 18-55mm F2.8-4.0 Lens Zoom Lens:
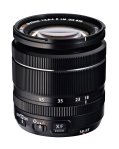
Fuji 18-55
This lens is such a disappointment to me… It is without a doubt my favorite walk around Fuji lens on the X-E1 camera. I hardly ever take it off. Sharp and clear with great contrast. That being said it is all but USELESS for Infrared! There is a major hot spot problem at ALL focal lengths at ANY aperture past f/4. At f/4 it did take nice images but as you understand, useless for landscapes. Bummer….. I am beyond disappointed over this one.
Fujifilm XF 60mm F2.4 Macro Lens:
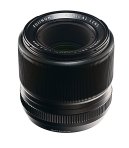
Fuji 60mm
I am going to initially tell you to simply forget this lens for Infrared. It has a seriously bad hot spot at all apertures. I will also share with you that I might actually have a bad copy of it. It gives a terrible hot spot on my X-E1 when shooting in color as well, especially when using a flash. I think that I am going to send it back to Fuji for repair and see what they think. Depending upon that I might re-evaluate it for Infrared later on!
Ok this is all for the initial post.
The next post will focus on post procseeing and what can be acheived artistically with this new Infrared Fuji X Pro 1!
Please let me know what you think!


